Overview
A Strip Component allows you to add a Splat texture to a spline.
Strip Components are mainly used to make roads, but can also be used to make any sort of ground-based texture along your spline.
Adding a Strip Component
To add a Strip Component to a spline, perform the following steps:
- In the Scenario Tree, Right-Click on your spline and press+ Add...
- Select Strip Component from the Add Blueprint list.
- Press OK.
The new Strip Component will then appear in the Object Browser beneath the Spline.
Modifying the Look of a Strip Component
To modify how a strip component appears, first Left-Click on the component in the Scenario Tree to open its Properties panel.
The Properties panel allows you to make changes to the strip component's appearance.
To customize the look of your spline, perform the following steps:
- Pick a texture in the Blueprint section. If you are making a road, this is likely going to be a dirt, gravel, or mud texture.
- Set the desired Width of the spline's strip.
- Set the Tiling to fit with the width of the strip. By default the tiling is set to 10. Larger numbers will add more tiles, lower numbers will reduce the number of tiles.
- If you wish, you can use the Colors controls to adjust the color and transparency of your strip's texture.
- Check the Remove Grass box if you don't want grass covering your strip texture.
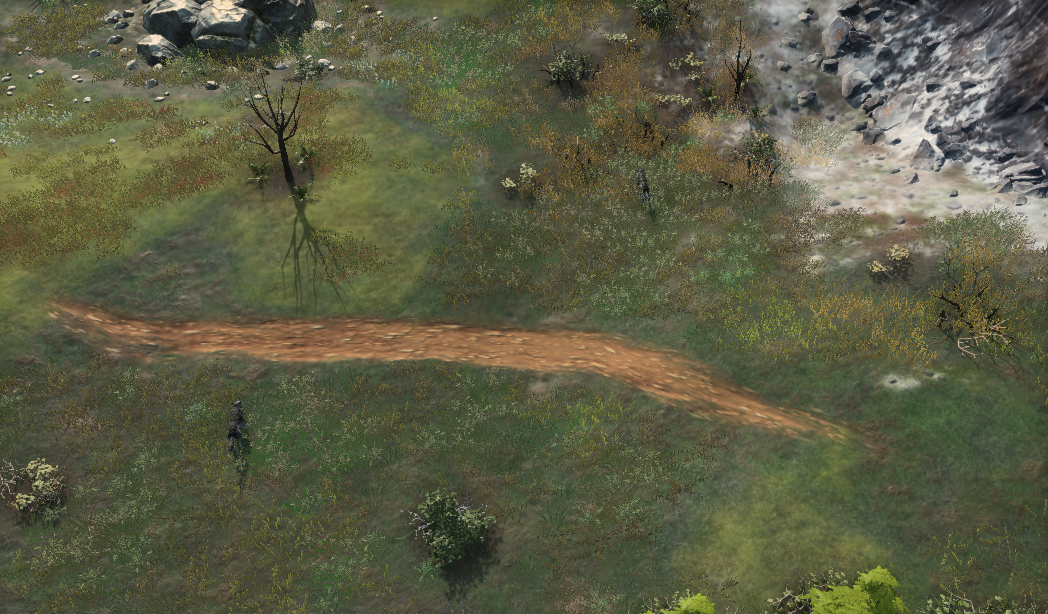
- That's it. You now have a road, or at least road-like spline, depending on what texture you used.
 Strip Component Properties
A full list of all the strip component properties is detailed below.
Editor
- Comment: Allows you to add a comment. Visible to anyone working in the editor.
- Display Name: A custom name you can add to this strip component for easy tracking/finding in the Scenario Tree.
- Exclude From Game: If true (ticked), the strip component will not appear in the game (it will be hidden).
- Locked: If checked, the component cannot be edited.
- Visible: If checked, the strip component is can be seen in editor.
Appearance
- Colors: Allows you to edit the color and transparency of the spline.
- Mirror X: Will flip the texture along the x axis.
- Mirror Y: Will flip the texture along the y axis.
- Tiling: Sets a value of tiles along the spline, this number may vary depending on the set width of the strip. By default the tiling is set to 10 but usually 100 is used to match a 5m width.
Blueprint
- Blueprint: allows you to see and add a texture to the strip.
Grass
- Remove Grass: will remove grass on the entire strip. This works with the width of the spline not the alpha of the texture.
Scenario References
- Exclude from Scenario References: Will exclude this spline from being referenced in the Scenario Tree
Spline
- Offset: allows you to shift a strip from it's center. For example, a dirt edge on the side of the road.
- Seed: will be used to randomize the width variation
- Width: Sets the width of the strip
- Width variation: Adds random variation to the strip width along the entire spline. The higher the number, the more variation.
Transform
- On Snow: If checked, the strip texture will be created over splats and splines. This is called snow, since snow is the most common use-case for this.